When we launched Zube a month ago, there was a lot of interest around how we made the animated demo video on the homepage https://zube.io. To be honest, it was a real pain in the ass, so we thought we’d share exactly how we did it.
tl;dr:
- Capture a movie using Quicktime or equivalent
ffmpegto create a color palette from the movieffmpegto create a gif from the movie using the color paletteconvertto create a sequence of 8 bit png frames from the gif- display the pngs sequentially in the
<canvas>with a Javascript loop
Requirements
There were a few requirements that we wanted to hit. First off, the video had to autoplay on page load. This was a problem on mobile browsers since they don’t autoplay videos due to bandwidth concerns. There are some hacks you can do to get around this but none of them work very well. So using an mp4 was out.
Our second requirement was that the video should not overload the browser. This meant a gif was out because, for whatever reason, large gifs crash my cofounder’s phone.
Finally, we wanted the text to be readable while keeping the total file size relatively small. This meant a series of .jpgs was out because jpg text is all blurry.
In order to hit all these requirements we decided to use Javascript to loop over a sequence of pngs. We chose this approach because the text in a png is readable and since pngs support transparency, we could overlay them to produce the animation. Since most of the frames are largely transparent, each frame is rather small in size and the total size is about the same as a gif.
One last note. Gif’s have 8-bit color to reduce file size. This gave us the idea to use 8-bit color for our pngs as well. The only problem is that 256 colors is rather limited so the colors will come out all wrong. To get around the problem, you need to generate a custom color palette, which is explained in this great article by Clément Bœsch.
The Full Procedure
Capture your demo movie using video capture software.
We used Quicktime, File -> New Screen Recording, but you do you. Quicktime generates a movie which we called demo.mov. If you program generates something else like an .mp4, that’s ok too.
Create a color palette from your movie using ffmpeg
1 | ffmpeg -i demo.mov -vf fps=10,scale=1378:-1:flags=lanczos,palettegen palette.png |
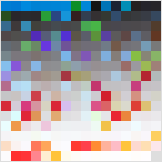
Put in the appropriate filename and format for the movie you generated in step 1 instead of demo.mov if you called your movie something else. The scale parameter should be set to the width of your video. In our case, demo.mov was recorded at a width of 1378px, so we used scale=1378. The resulting color palette looks pretty cool:

Next we’re going to create a gif from our movie using the color palette we generated in step 2. As a hack, we first convert the movie to a gif, and then convert the gif to a series of pngs. Our objective is to create a series of pngs, and there may be some way to use ffmpeg to directly create a series of transparent 8-bit pngs layers, but we don’t know how to do that. Just think of this step as a free gif. :)
Create a gif from the movie
1 | ffmpeg -i demo.mov -i palette.png -filter_complex "fps=10,scale=1378:-1:flags=lanczos[x];[x][1:v]paletteuse" demo.gif |
demo.mov is the movie from step 1, palette.png is the color palette we generated in step 2, we specifed the frame rate to be 10fps, the scale parameter of 1378 is the width of our video, and we named the resulting gif demo.gif.
Create the series of transparent 8-bit pngs using ImageMagick
1 | convert -dispose Background -coalesce demo.gif -colors 256 PNG8:demo_%d.png |
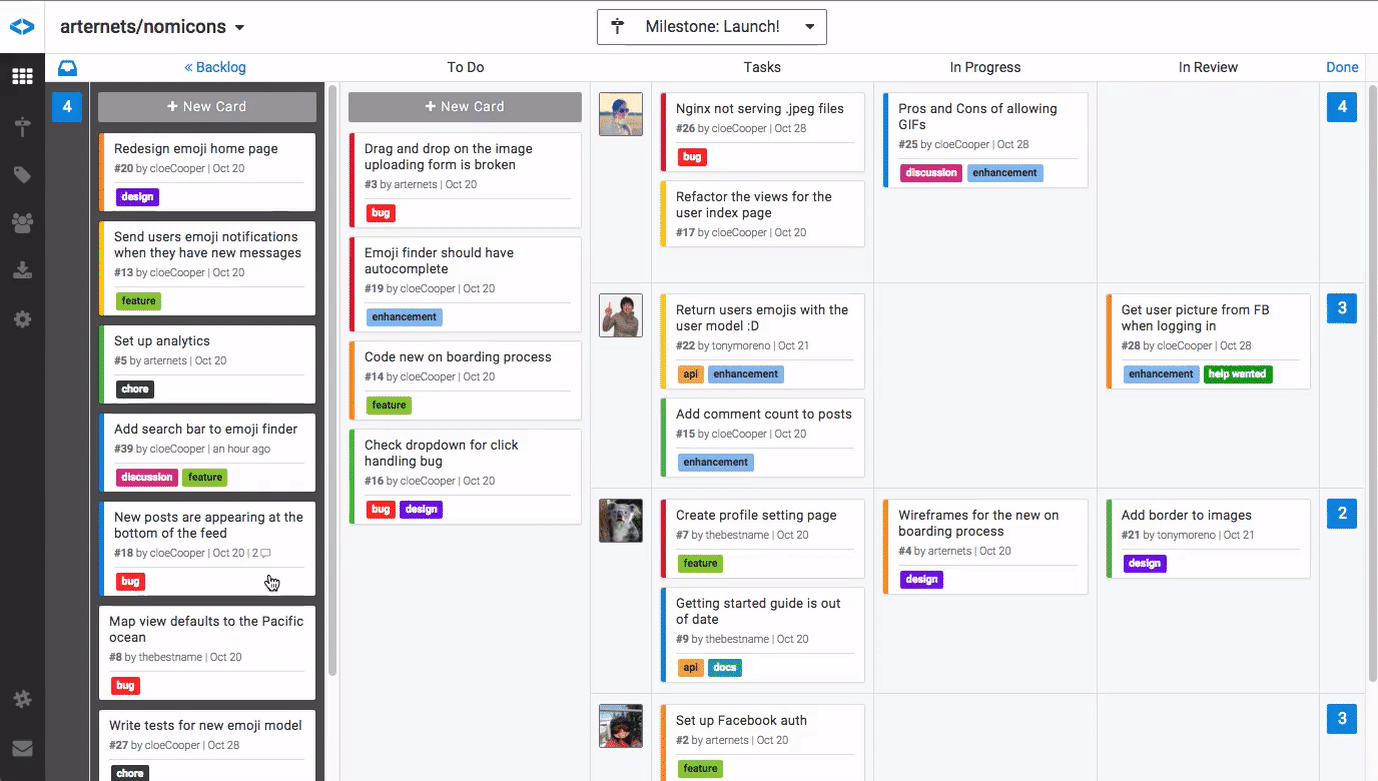
The resulting pngs are just the pixels that need to be added to screen in order for the animation to move forward. The first png is the initial background:

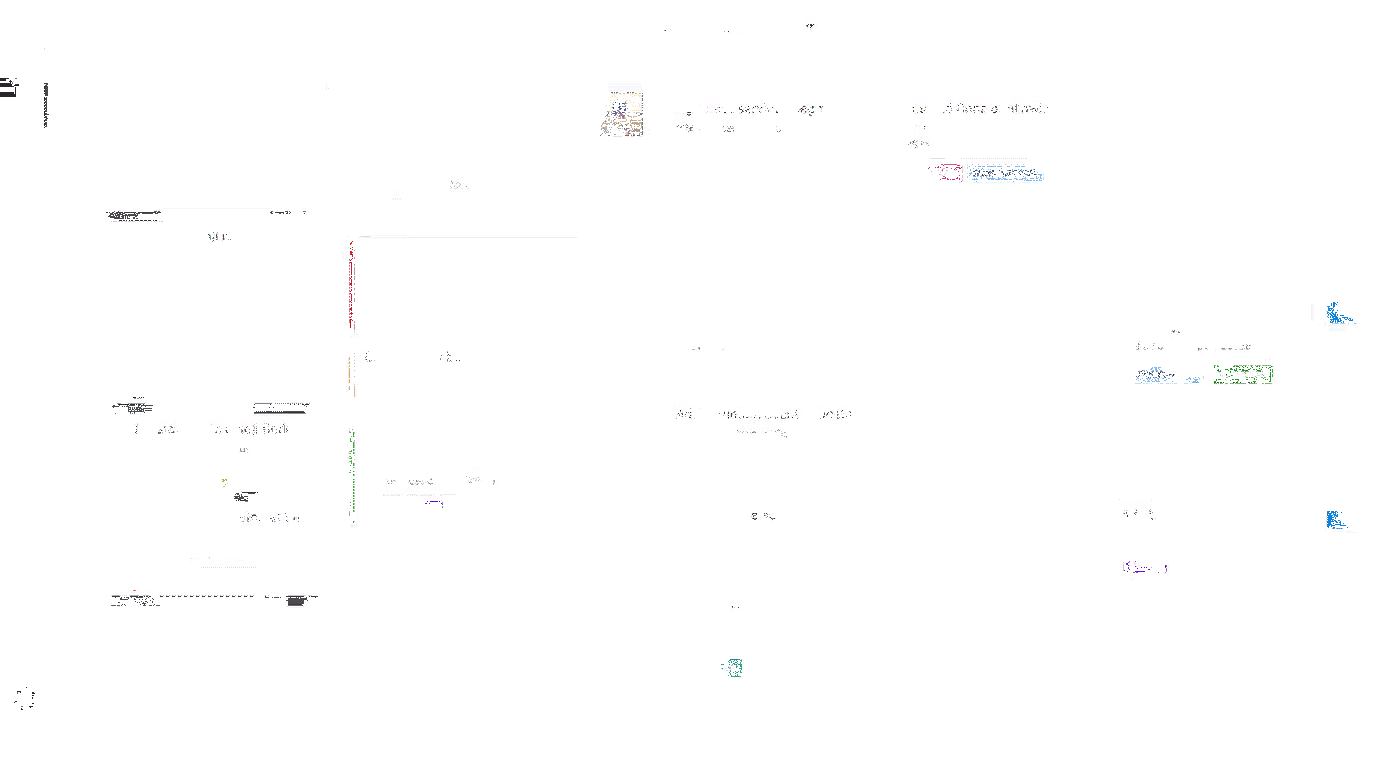
Each subsequent image is mostly transparent with some random looking opaque pixels. Here’s the next image in the animation:

Even though each frame looks weird, when we layer them on top of each other, the resulting animation will look perfectly normal.
As a note, our first instinct was to make a single large image that contained every frame a.k.a a sprite sheet. Sprite sheets in general are awesome because they reduce the number of image requests to the server, which have http overhead and are subject to browser parallel request limitations. However, when we made a sprite sheet and then tried to render it in the canvas using ctx.drawImage(), the whole browser came to a grinding halt. More specifically, Chrome came to a grinding halt. Safari, was super fast. Apparently Chrome has a bug. From our brief research we are unclear if the problem lies in trying to use drawImage() to draw subsections of a larger image, or if the problem is in how Chrome handles canvas memory. The sprite sheet we ran the test on was rather large 1,378 px × 157,762 px in size and 3.6 MB. Your mileage may vary.
The HTML
Somewhere on your page put1
2
3
4<div id="demo">
<img id="imac" src="images/imac.png">
<canvas id="demo-animation"></canvas>
</div>
The sibling to our canvas element is an image of an iMac. We want the demo animation to look like it is playing inside the iMac so we place both of those elements inside a parent div so there is a common point of reference.
The CSS
To make sure the canvas scales along with with parent we added the css1
2
3
4
5
6
7
8
9
10
11
12#demo {
position: relative;
}
#imac {
width: 100%;
}
#demo-animation {
position: absolute;
width: 91.56%;
top: 4.8%;
left: 4.19%;
}
All the magic numbers in the CSS are there to position our animation in the center of the iMac’s screen.
The Javascript
We used JS to dynamically load and display our sequence of pngs by drawing on the canvas. In our case, when we used ImageMagick to generate our images, we ended up with 202 of them ranging from demo_0.png to demo_201.png. The first thing that happens in the JS is to fetch and load the 0th image, demo_0.png. This image will act as a placeholder while the other images are loading.
Then we loop over all the possible image numbers and fetch all the images. We keep count of how many have loaded and when they have all been fetched we kick off the animation by calling renderFrame(). The renderFrame function draws an image on the screen, waits 100ms, and then calls itself. That way the frame rate is approximately 10 frames/second which is what we specified when we created the gif from the original movie.
1 | <script> |
Two notes on bandwidth and performance.
In production you should serve your images with a cache header so the browser only has to download your set of images one time. This means that if you ever change your set of images, you need to choose a new filename for every image or the old images may still show up. The common technique for choosing unique images is to md5 hash the image and append that string to the file name. If you decide to go the md5 hash route you’ll probably need to create a dictionary of the filenames so you can programmatically iterate over them.
I should also point out that, since the video you make autoplays on mobile, you need to be considerate of bandwidth limitations. The aggregate size of the png sequence is significantly larger than an mp4. On our site we load a smaller version of the video on browsers that are less than 768px wide. The smaller version of the video is 3x smaller than the full size video. We also kept our video short to reduce file size. As a rule of thumb, if you find the aggregate size of your video is nearing 10 MB, then you should seriously consider an mp4 instead.

