Follow Zube on Twitter

Manage all of your GitHub repositories together

We’re super excited to announce support for multiple repositories. You can now manage multiple GitHub repositories under a single project, and since we’ve also reworked sprints, the Issue Manager, and Tickets, the benefits are huge!

Projects with multiple GitHub repositories

It’s easy to create a new project that’s backed by multiple GitHub repos. All you have to do is select more than one GitHub repository when you create a new project. It’s as simple as that. If instead, you want to add a repository to an already existing project, that’s no problem either. Just head over to the project settings page and you’ll see a list of available GitHub repositories. You can also merge two currently existing projects together!

Project settings page showing how to add additional repositories

The Kanban Board

Once you’ve created a project with multiple repositories (sources), you’ll see a sources selector on the Kanban Board. You can select one or more repos (sources) and the Kanban Board will update accordingly. Oh, btw, we’ve also included some performance tweaks in this release so your Kanban Board will load quickly and remain very responsive no matter how many GitHub issues your project has!

Kanban Board highlighting repository source selector

Sprints and the Sprint Board

Like the Kanban Board, you’ll find a GitHub repo source selector in the filter bar at the top of the page. Since a sprint is scoped to a project, and since a project can now have multiple repos, your sprints now show the work being done across all your repos! Similarly, your burndown chart will roll up your current progress for the entire project, or you can toggle which sources your want to display on the chart.

The Issue Manger

The Issue Manager lets you filter/search/sort your GitHub issues for a project on Zube, which means, wait for it… the Issue Manager now supports multiple repositories! That makes the Issue Manager super powerful. You can filter/search/sort across all of your repositories at the same time to find exactly what you want. We’ve also enhanced the Issue Manager’s filters so you can now choose issues or PRs (or both), see open and closed cards at the same time, and of course, choose which repository you want to filter on. And since the Issue Manager is now so powerful, we wanted to give you a way to grab your data and manipulate it however you like, so we added the ability to export your results as JSON!

Tickets

Tickets are now scoped to projects… um, I feel like a broken record at this point… which means that you can link cards from different repositories to a single Ticket. Like always, the Ticket will track the linked cards and notify the Ticket owner as the status of cards change. What’s new is that the Ticket owner will remain up to date even if the Ticket involves work being done across multiple repos!

New ways to manage your GitHub Issues

This product update has many new features and improvements. We added a Kanban Board, Sprints, and multiple assignees on a single card. We also changed the layout of the Board and renamed it to the Sprint Board.

The Kanban Board

Zube’s new Kanban Board has all the bells and whistles you’d expect on a kanban board and is real-time synchronized with GitHub Issues. The layout of the Kanban Board is structured to support an Agile workflow out of the box. The Kanban Board has a standard set of categories to indicate the stage of your issues as they move through the software development process. There’s a filter/search bar at the top of the board that lets you drill down and display only the issues you’d like to see. The Kanban Board supports both GitHub issues and pull requests and you can toggle which type of cards are displayed (issues and/or PRs).

Kanban Board showing a project overview

Sprints

Zube now has clearly defined Sprints. Sprints are core to the Agile scrum methodology, and are really useful for scoping what’s important for your next product release. Sprints have been a core part of Zube from day one, but now sprints are more powerful and more flexible. While you don’t have to use sprints to get tons of value out of Zube, we suggest you give them a try! You can create and edit sprints by navigating to the Sprints page, which you can get to from the navigation sidebar under the “Sprint Board” section.

TIP: In Agile, the purpose of a sprint is to timebox your work. Sprints typically last between one week and one month depending on how your team likes to work and what you’re trying to accomplish. Milestones, on the other hand, are best used to mark the completion of a stage of your development, which means that milestones are often larger and more encompassing than sprints.

Sprints let you scope your work

The Sprint Board

After you create a sprint you can use the Sprint Board to manage your issues. Just a heads up, if you were using milestones as sprints before this release, we automatically created some sprints from you, but that won’t happen from here on out. The Sprint Board allows you to focus on one sprint at a time and makes it easy for you to bring up new sprints. At the top of the Sprint Board is the start date, the end date, a sprint selector so you can choose which sprint you want to display, and a progress bar that displays the current progress that has been made on the sprint in terms of number of open and closed issues.

The Sprint Board lets you focus on what's important

The sprint selector is located at the top of the Sprint Board, and not with the other filters, because it does not affect the Inbox or Backlog columns (the two gray columns to the left of the Sprint Board). While the filter/search bar at the top of the page will affect cards in all of the columns, the sprint selector only affects cards in the Sprint Board section. This gives you the ability to easily populate your sprints by dragging cards from the Inbox or Backlog to any column on the Sprint Board since dragging card onto the Sprint Board automatically adds the card to the currently selected sprint.

After you’ve closed a bunch of cards and the sprint had come to an end, you can head back over to the Sprints page and close the sprint. If you have any open cards on a sprint when you close it, you will be prompted about what to do with them, either move them to the Backlog column (recommended), or just remove them from the sprint but leave them in their current categories. After a particular sprint has been closed, it will no longer show up on the Sprint Board.

Miscellaneous improvements

A lot of improvements found their way into this release, I’m just going to list them out here:

  • Cards can have multiple assignees (up to ten).
  • We’ve added a shortcut for assigning and unassigning yourself on cards: ctrl + click (command + click) on a card will assign it to you and ctrl + shift + click (command + shift + click) will remove you.
  • The Sprint Board has a filter/search bar.
  • You can display PRs on the Sprint Board.
  • We added a navigation sidebar that can be toggled by clicking the “hamburger” icon located just above the sidebar in the page header.
  • There’s now the option to “Disable Automatic Card Management”. This option is found on the project settings page and will make it so Zube no longer moves your cards around for you. For example, if you have “Automatic Card Management” enabled, and you open a card in the Backlog and give it a sprint, then Zube will automatically move the card to the Ready column for you. If you don’t want things like this to happen, consider disabling “Automatic Card Management”.
  • Cards with assignees can exist in any column. So, for example, you can now have a card in the Backlog with an assignee.

An Agile Project Management Workflow Just Using GitHub Issues

Although GitHub Issues doesn’t have many of the features that you’d normally want in a project management system, you can still use Issues to create a lightweight Agile workflow. All it takes is a bit of finesse and some self imposed structure.

Agile Components

These are the core components of an agile system that you can implement using GitHub issues (you might want to skip ahead if you’re already an agile ninja).

Stories (a.k.a User Stories)

Stories are the smallest unit of work to be done for a project. The goal of a story is to deliver a unit of value to the customer. In Agile-land, common syntax for writing stories is:

As a <type of user>, I want <some goal> so that <some reason>.

Sprints

Sprints are fixed-length iteration cycles, usually lasting one, 2 or 4 weeks. The goal is for the team to deliver a working piece of software by the end of the sprint (a potentially shippable increment).

Sprint Backlog

The sprint backlog is the collection of work that is scheduled to be tackled during a sprint. At the beginning of the sprint, the team decides what work they should do during the sprint and moves those stories from the global backlog to the sprint backlog. Stories in the sprint backlog should be organized by priority so the team can pick off the top tasks as they work through the sprint.

Global Backlog

The global backlog is a prioritized list of work (stories) that has not been scheduled to be completed. As new work comes in, it gets added to the global backlog and prioritized. In an Agile workflow, the development team pulls from the backlog as opposed to a manager pushing work onto the developers. The goal is to keep the backlog as small and as organized as possible.

Mapping the Agile Components to GitHub Issues

Now that we’ve laid out the Agile components, here’s how you can implement them in GitHub Issues.

AgileGitHub
StoriesIssues
SprintMilestone
Global BacklogOpen, Unmilestoned and Unassigned Issues
Sprint BacklogOpen, Milestoned and Unassigned Issues
Stories Issues

If you make an issues the same way as you would make a story then you’ve got this one in the bag.

TIP: One nice thing about stories that isn’t often adopted with GitHub issues is that stories have a consistent syntax. Feel free to abandon the typical user-focused story titles if that’s not your jam but it does make life better to have a style guide for issue titles!

Sprints Milestones

Unfortunately, GitHub doesn’t have sprints. Instead, if you want to group a set of issues together you have to use milestones. Luckily, milestones on GitHub have start and end dates, so they can be a surrogate for sprints since they fulfill the requirement of having due dates and allowing you to group issues together.

Sprint Backlog all open, unassigned issues that are on a milestone

GitHub doesn’t have a place to store your issues in a way that resembles a proper sprint backlog, but that needn’t stop you having one in your mind’s eye. All you need to do is remember that any issue that is on a milestone, is open, and is not assigned to anyone is in the sprint backlog. You can view you sprint backlog in GitHub using their issue search. Search for all the open and unassigned cards for any milestone and the resulting list is your sprint backlog.

TIP: Priority is a bit of a problem here. Normally you’d like to be able to arrange your issues so that the more important issues are at the top of the list. Since this isn’t possible on GitHub, you can use labels as a hack. To do this, create a set of priority labels (P1, P2, P3). If you’re uncertain of how many to create, just make P1, P2, and P3. As new issues come in, label them with a priority. Then when it’s time to decide what to work on, you can use GitHub’s issue search to filter by your priority labels.

Global Backlog all open, unassigned issues that are not part of any milestone

The concept is the same as the sprint backlog. You can use the GitHub issues search to find only those issues that are open, unassigned, and not on any milestone. This is your global backlog. Once again, use priority labels to indicate precedence.

A Basic Agile Workflow

Our Agile workflow will have five stages: global backlog, sprint backlog, in progress, in review, closed. Cool? Let’s go!

The Global Backlog

All new issues should go to the global backlog which means they should be unassigned and unmilestoned. Everyday, the team lead should look over the new backlogged issues and assign them a priority. Remember, in order to find your global backlog issues, use the GitHub issue search to display open issues with no milestone and no one assigned.

The Sprint Backlog

Next, it’s time to decide what to work on so you should create a new milestone on GitHub. If due dates are your cup of tea, give the milestone a due date. As I said above, one, 2 and 4 weeks are common durations of a sprint. It really depends on how your team like to work and what you’re currently building.

As a team, work through the issues in the global backlog and add the appropriate issues to the sprint backlog. You move issues from the global backlog to the sprint backlog by milestoning the issues. It’s pretty easy to just do on the fly when you come across an issue that you want to work on this sprint cycle. Remember to leave the issue unassigned, or you’ll inadvertently skip the sprint backlog, which is not cool in Agile land.

TIP: As you build up your sprint backlog, update the priority labels on the issues to reflect their priority relative to the other issues in the sprint backlog. This indicates what tasks the team should be working on first. Also, if you want to add story points to the issue, now’s the time to do it! Create another class of labels for your points and use those to weight your issues.

PRO TIP: When to label? In general, using labels to indicate the status of an issue in the pipeline is a bad idea. It’s difficult to keep the label up to date with the actual status of the issue. Bad data = lots of noise = irritated team. If you’re feeling tempted to use labels for the status of an issue, it’s probably time to add a proper project management tool to the workflow.

In Progress

When an open issue is assigned to someone, that means the issue is in progress.

Once your sprint begins, your team starts by pulling tasks off the sprint backlog, starting with the issues with the highest priority (and the lowest point values if you want to hyper-optimize your flow efficiency). When someone grabs a task, they assign it to themselves to indicate the work is in progress. It’s best if your team members only have things assigned to them if they are actually working on them. This way the team knows what everyone is working on and what issues are still available for them to bang out.

In Review

Moving issues to the review stage starts by opening a pull request. Give the PR a descriptive title that fits with your team style guide and reference all the relevant issues. Something like, “Adds widget to new feature - closes #1, closes #2” is awesome because when the pull request is merged, those referenced issues will be closed as well. Make sure the milestone of the pull request is the milestone you are using for your current sprint, and remember to assign the PR to the reviewer.

Closed

Once a pull request has been merged, you move all the resolved issues to closed. If you referenced your issues correctly in your pull request, your cards will automatically be marked as closed when the pull request is merged. Leave the milestone and assignee set on the issue as a record for later reference.

Party!

Ideally, the team should have code that’s ready to ship by the end of your sprint. Any open pull requests for the sprint should either be merged, closed or moved to the next milestone. Any open issues from the sprint should either be moved to the next milestone (if it’s in progress) or back to the global backlog by unmilestoning and unassigning the issue.

You finish your sprint by closing the milestone. Set the milestone state to closed and leave any notes about the sprint in the description section of the milestone. Some good things to record here are number of issues that had to be pushed to the next sprint (and point values), what was accomplished and what was not, and any problems that came up. Then, party!

Here’s a handy chart for the state of your issues in each stage

Gloabl BacklogSprint BacklogIn ProgressIn ReviewClosed

open

unmilestoned

unassigned

open

milestoned

unassigned

open

milestoned

assigned

open

milestoned

assigned

pull request reference

closed

Shameless plug: If you’re already doing an Agile workflow on GitHub and you’re looking for something more powerful, give Zube a try!

I’m a technical founder of a startup in Y Combinator Fellowship W16. Sometimes it feels a little surreal because only three years ago I didn’t know how to code at all. This is the story of how I got here and what I’ve learned along the way.

180 Websites in 180 Days - The Backstory

I taught myself to code by building 180 websites in 180 days. Building a website a day consumed my entire life for 6 months. People are often shocked to hear that I quit my job to tackle the project, but I knew that there was no way I was going to be able to learn to code if I also had to work a job.

I used to be a fine artist… sort of. I love building things, which is why I ended up studying fine art. Art gave me an outlet to build and create. I went off to art graduate school with a head full of youthful optimism and a bunch of student loans. I spent two years making artwork - finding my voice as they say - and when I graduated, I was broke. I needed to make money so I started bartending because I thought it would give me enough free time to also make art.

Me, doing a performance piece for my MFA thesis show

I was wrong. Having to split my focus made it very difficult for me to produce the artwork I wanted to. I never really “quit” making art, but since I wasn’t fully invested in it, I started to do other things to fill the creative void. The turning point was when I helped some of my friends with the UI/UX for an iPhone app. After that, I was hooked, and I helped out on a couple of other tech projects in my free time.

Screenshots from the first app I worked on, ruHot

Working on the design side of things was fun but I wanted to do more. I wanted to actually build the things I was working on, but how? I knew that if I didn’t fully commit myself it wouldn’t work out for me, so I decided I was going to quit my job and learn how to code. I didn’t have enough money to quit immediately, so for the next few months I just focused on making money. When I finally had enough money saved up, I quit my job to pursue my dream of becoming a coder.

180 Websites in 180 Days - Learn by doing

I didn’t have a plan at first, but I knew that if I was going to succeed at learning to code, I would need to crank out as much code as possible. First I thought about just diving into a big Rails project, but as a beginner that seemed really daunting. So then I thought about making a bunch of small websites to get my feet wet. But how many should I do? Five? Ten? Fifty?

I asked myself, “If I make one small website a day, every day, how many could I possibly make?” 180 popped into my head and while it seemed totally crazy, it also seemed like an awesome challenge so I set out some rules for myself. I would make one website a day, every day, for 180 days, write a short blog post everyday for each site, and publish all my code on GitHub.

I chose to make a website every day because it meant that I would have to finish something every day and start again the next day. Finishing something every day would make me feel like I was winning, and having a deadline meant that I couldn’t get hung up on the little things. It didn’t matter if I understood everything that was going on, just as long as I shipped.


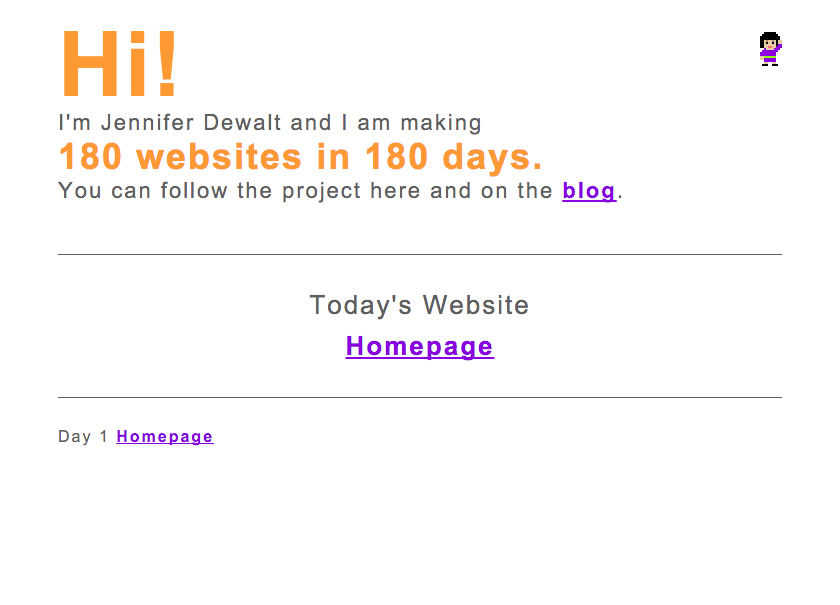
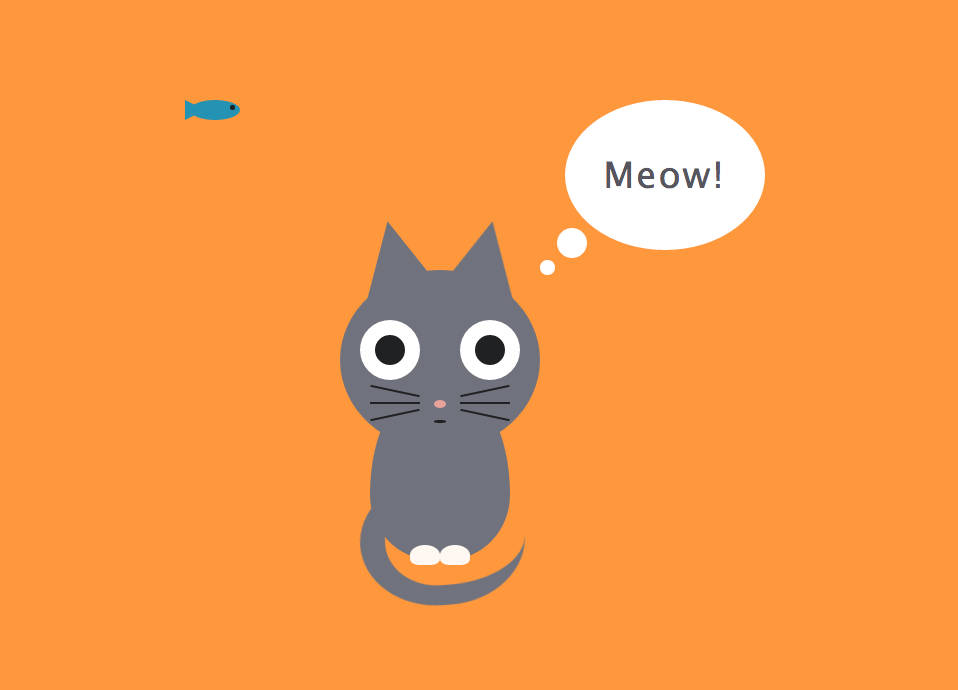
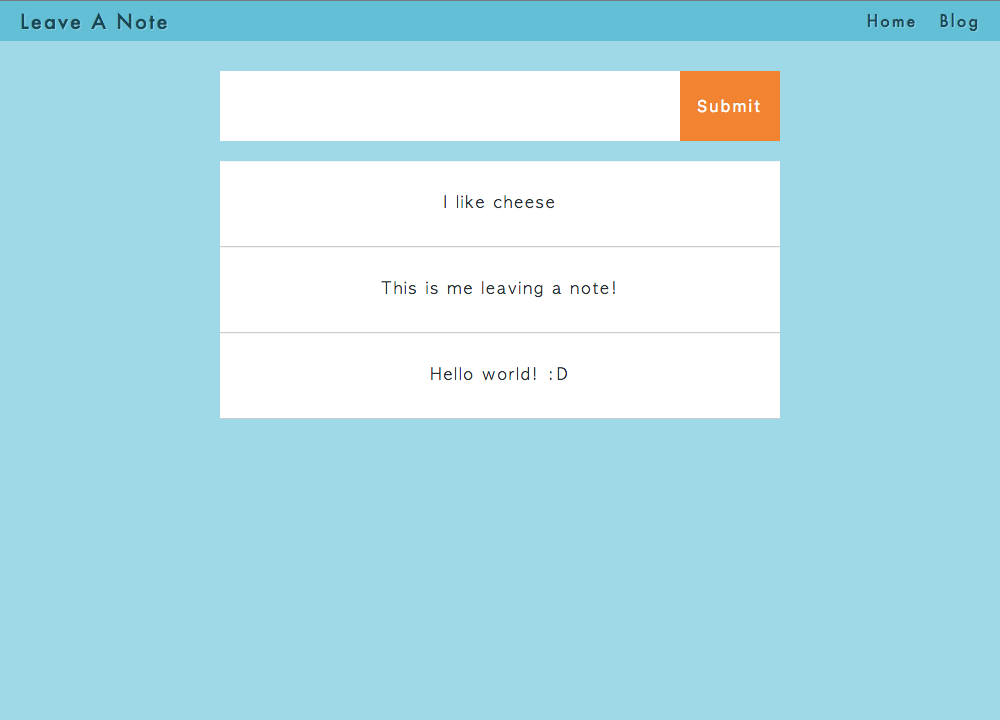
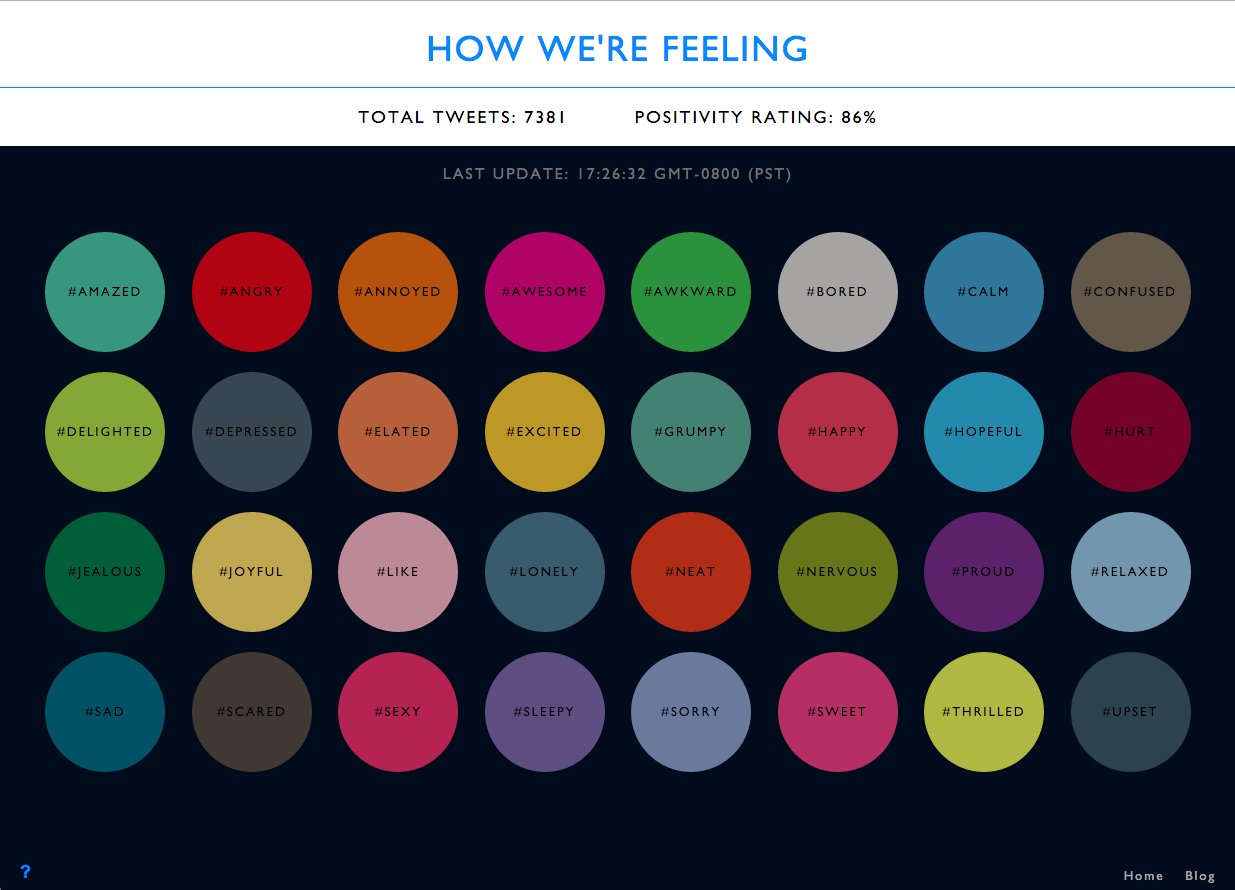
The first websites I made in the project were pretty crappy. It took me all day to build the first website - the homepage for the project https://jenniferdewalt.com. Looking back, I’m not sure how it could have possibly taken that long, but I remember Googling furiously all day for answers. Every day I learned a little more. I was doing some pretty crazy stuff with css by Day 30 - Silly Kitty, I made a super simple rails app on Day 69 - Leave a Note, and by the end of the project I was making websites with Node.js - Day 178 - How We’re Feeling.

The structure of the 180 Websites project allowed me to make rapid progress, but many people pointed out that “You can’t build a real web application in a day! It’s much more complicated to do real full stack development!” And… they’re right! So after I had finished building all 180 websites, I decided to build YumHacker.

YumHacker - Build something real

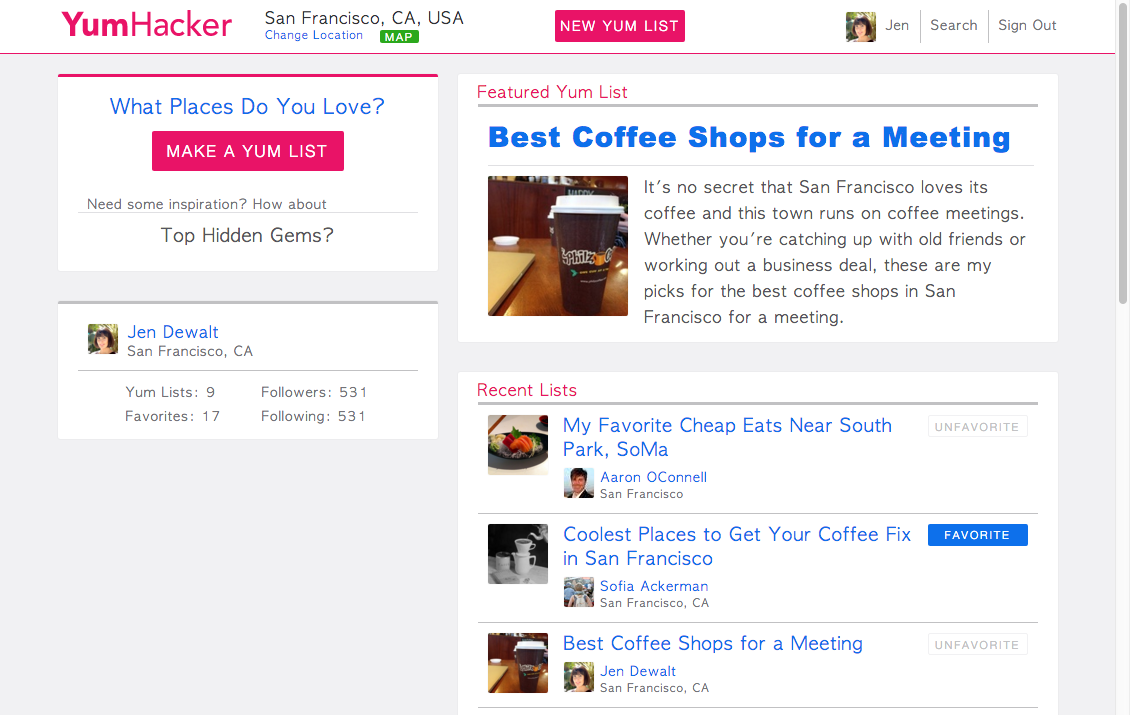
After the 180 Websites project I knew a little bit about a lot of things but was proficient at nothing. I wanted to learn what it was like to build a full scale web app so I decided to build a restaurant discovery website called YumHacker, which was basically a social network for food. Building YumHacker opened up a ton of new things to explore. I had to learn about API architecture, geolocation, client side MV* architecture, and memory management, just to get to a minimum viable product.

Building a full web app like YumHacker is different from building a one day project in another way as well. I wanted YumHacker to grow. When I released my MVP, the feedback was mixed. Lots of people told me they liked it, but when I looked at the analytics, the number weren’t good. And just like that, I had a whole new set of challenges that weren’t coding related at all.


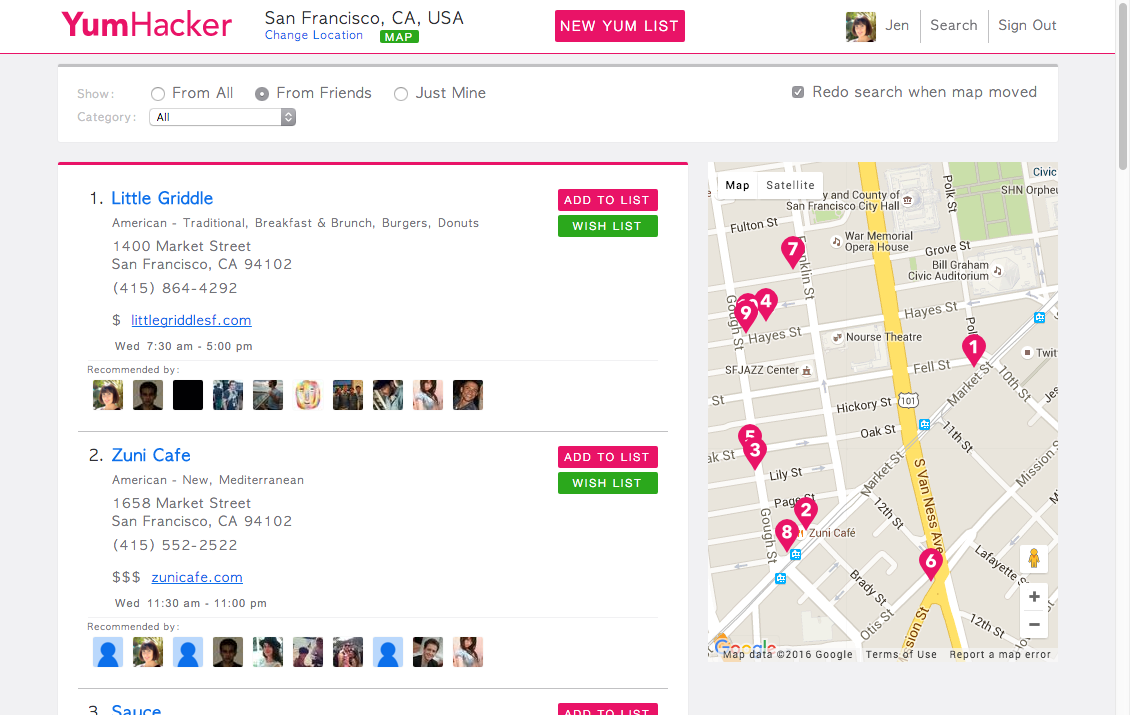
The point of YumHacker was to learn how to build a full web app and I had already accomplished that, but I decided to keep going so I could explore the product and growth challenges. It seemed clear to me at the time that making a social network for food wasn’t resonating with people, so I decided to rework YumHacker to be more like BuzzFeed for food. I studied up on SEO and content marketing and implemented a longtail SEO play. The strategy was working but the process of ranking on Google was so… freaking… slow! I was having fun trying to grow a website, but I wasn’t passionate about building a media company around food, so I decided to stop doing YumHacker and join a project that I was passionate about.

Wit.ai - Growth Hacking

When I had set out to do YumHacker, the goal was to become comfortable with full stack development. However, along the way I’d also become interested in growth hacking. I didn’t know which one to pursue. I contacted a bunch of small startups to see what positions were out there, and in the end, I had to make a really tough decision. I was offered a position doing full stack Ruby on Rails development for an awesome FinTech company, and I was also offered a growth position at Wit.ai, which is basically Siri as a service. I chose Wit.ai because I liked their vision and wanted to help grow the company.

Introducing Wit.ai during the opening ceremonies at the Hack The North Hackathon

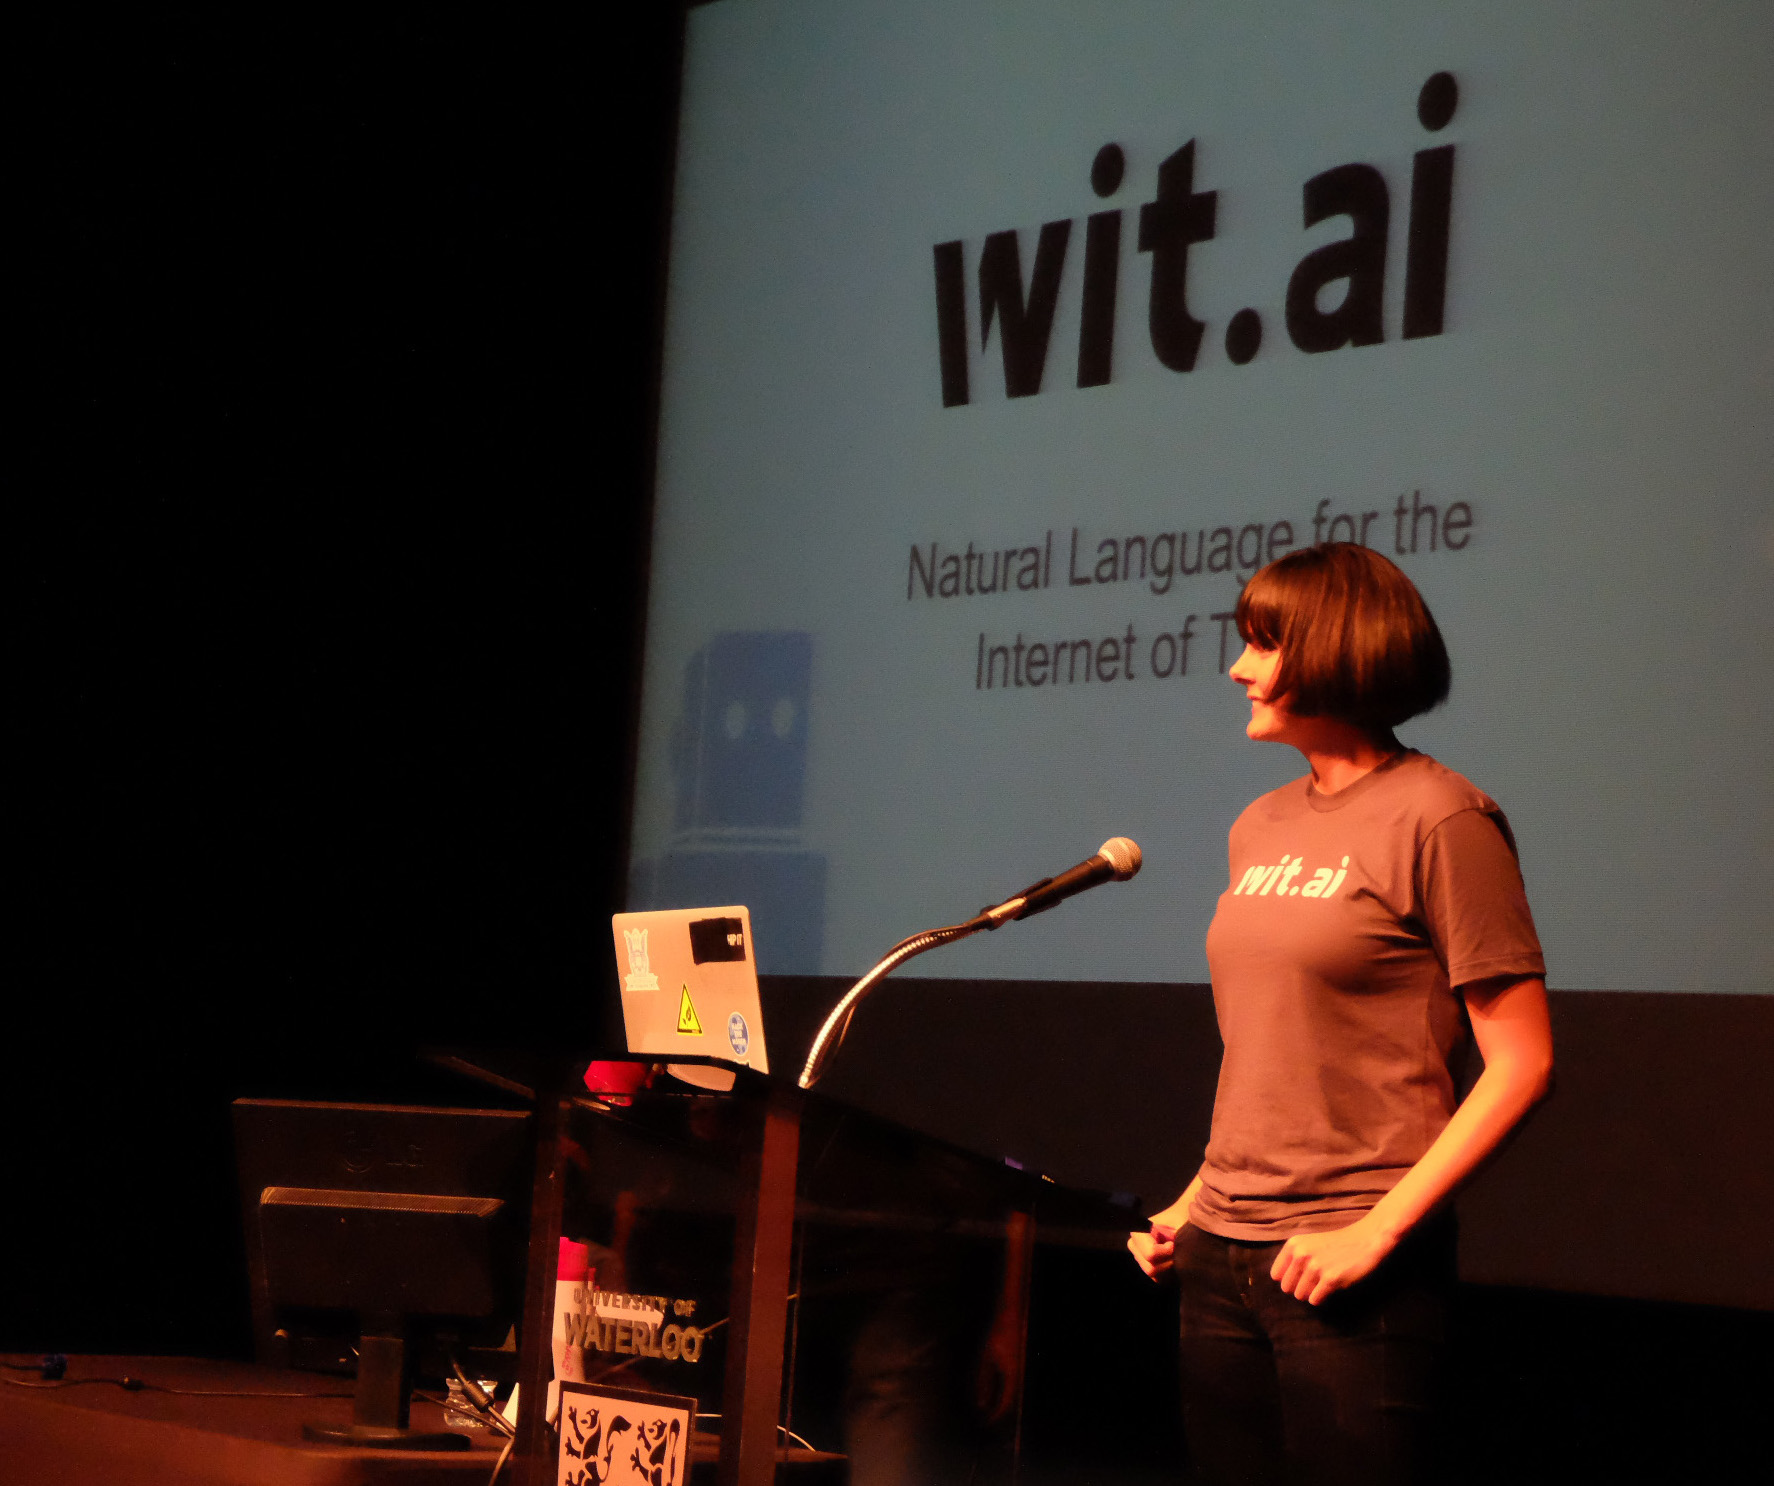
My time at Wit.ai was pretty short. Wit.ai was acquired by Facebook only 5 months after I joined. The acquisition was bittersweet for me. On one hand, I had helped grow a company that successfully exited, but on the other hand, we had just started seeing sustained monthly growth and we were gaining momentum. I didn’t really want to work for Facebook and Facebook wasn’t looking for a scrappy growth hacker, so in the end I was given a small severance package and we parted ways.

Zube - Building a company

Since I was no longer at Wit.ai, I decided to build a project management tool for developers called Zube. The idea came from my experience working with the development team at Wit.ai, who were struggling to manage their GitHub issues. After about a month of coding, I convinced my cofounder Aaron to join me and the company was born.

The original Zube board

Building a company is different from any of my past projects. You have to be obsessed with building something that people want, and you have to be excited to work closely with your customers. Building a company is also different for me because the goal is much more abstract than my previous projects. Sure, there are things you hope to achieve like your first dollar, your first hire, raising venture capital, or an IPO, but those are really just mile markers. The goal of Zube isn’t to hit some milestone. The goal is to make development teams happy, and that’s not something that’s constrained to a moment in time.

Like any startup, Zube has its ups and down, but doing Zube requires me to do all the things I love. I finally feel at home. The YC community has been a big part of my journey. PG’s essays inspired me to pursue entrepreneurship, the Hacker News community was very encouraging when I was learning how to code, and working at Wit.ai gave me the opportunity to learn from an awesome dev team. And now, as part of the current YC Fellowship batch, YC has given us a bunch of supportive advisors and a great network of peers.

Final Thoughts

If you want to learn to code or become an entrepreneur, you’ll need to find your own path, but I’d offer these four pieces of advice.

1. Quit your job (with a purpose)
If you’re looking to do something big, whether it’s change careers or start a company, you’re likely going to need to be 100% focused on your goal to be successful. At some point you’ll need to take a big leap and leave your job. That’s not to say you should just jump up and say ‘later suckers!’, but you should make a plan and figure out how to execute it.

2. Don’t get hung up on the little things
It’s easy to get bogged down by small bumps in the road. It’s important to keep plowing ahead to make progress. Do whatever it takes to keep pushing yourself forward.

3. Do what you love
Make sure you’re doing something you’re truly passionate about. If you don’t believe in what you’re working on, it’s going to be pretty difficult to succeed.

4. Find your peeps
Surround yourself with people who you resonate with. It can get pretty lonely out there and having a network of people who can give you advice, dole out tough love when you need it and support you along the way can make all the difference.

Discuss on Hacker News

Life just got a little better

Pull requests are no longer part of the main board. Instead, pull requests now appear in a list on the right side of the board. The pull request list shows all open and closed pull requests for whatever milestone you’re looking at. At the top right of the page there is a pull request icon with a red badge to let you know the number of open pull requests (so you can drop everything else going on in your life and immediately merge your coworker’s changes). Clicking the icon will show/hide the pull request list.

New pull request list

Another change that may make your day is that you can now change how priority is represented on a Zube card. Previously, priority was labeled “Code” (Code Red, Code Orange, etc.). Now, the default naming convention is P1, P2, P3, P4, and P5. Not to worry, if you love having only colors then you can change it back on the board’s settings page. You can also choose an urgency scale with the names Blocker, Critical, Major, Minor, and Trivial, if that’s your thing.

Priority names are now configurable

If you’re often looking at your Zube board, wishing you could collapse a user row because that team member just really isn’t that important, then you’re in luck! You can now collapse and expand user rows by clicking on the collapse/expand icons next to their avatar.

Collapsible user rows

There’s also one last small thing that makes life better for everyone using points (story points). The point totals are now displayed at the top of every board column. Having point totals makes it easy to see if one stage of your workflow is getting overloaded. When trying to maximize for workflow efficiency, eliminating bottlenecks is one of the most important things you can do. If you’re currently not using points (story points) and would like to enable them, you can do so on the board’s setting page.

Point totals for every column